
Privacy Fence Installation in Rockton, IL: Fall Yard Prep and Access Planning
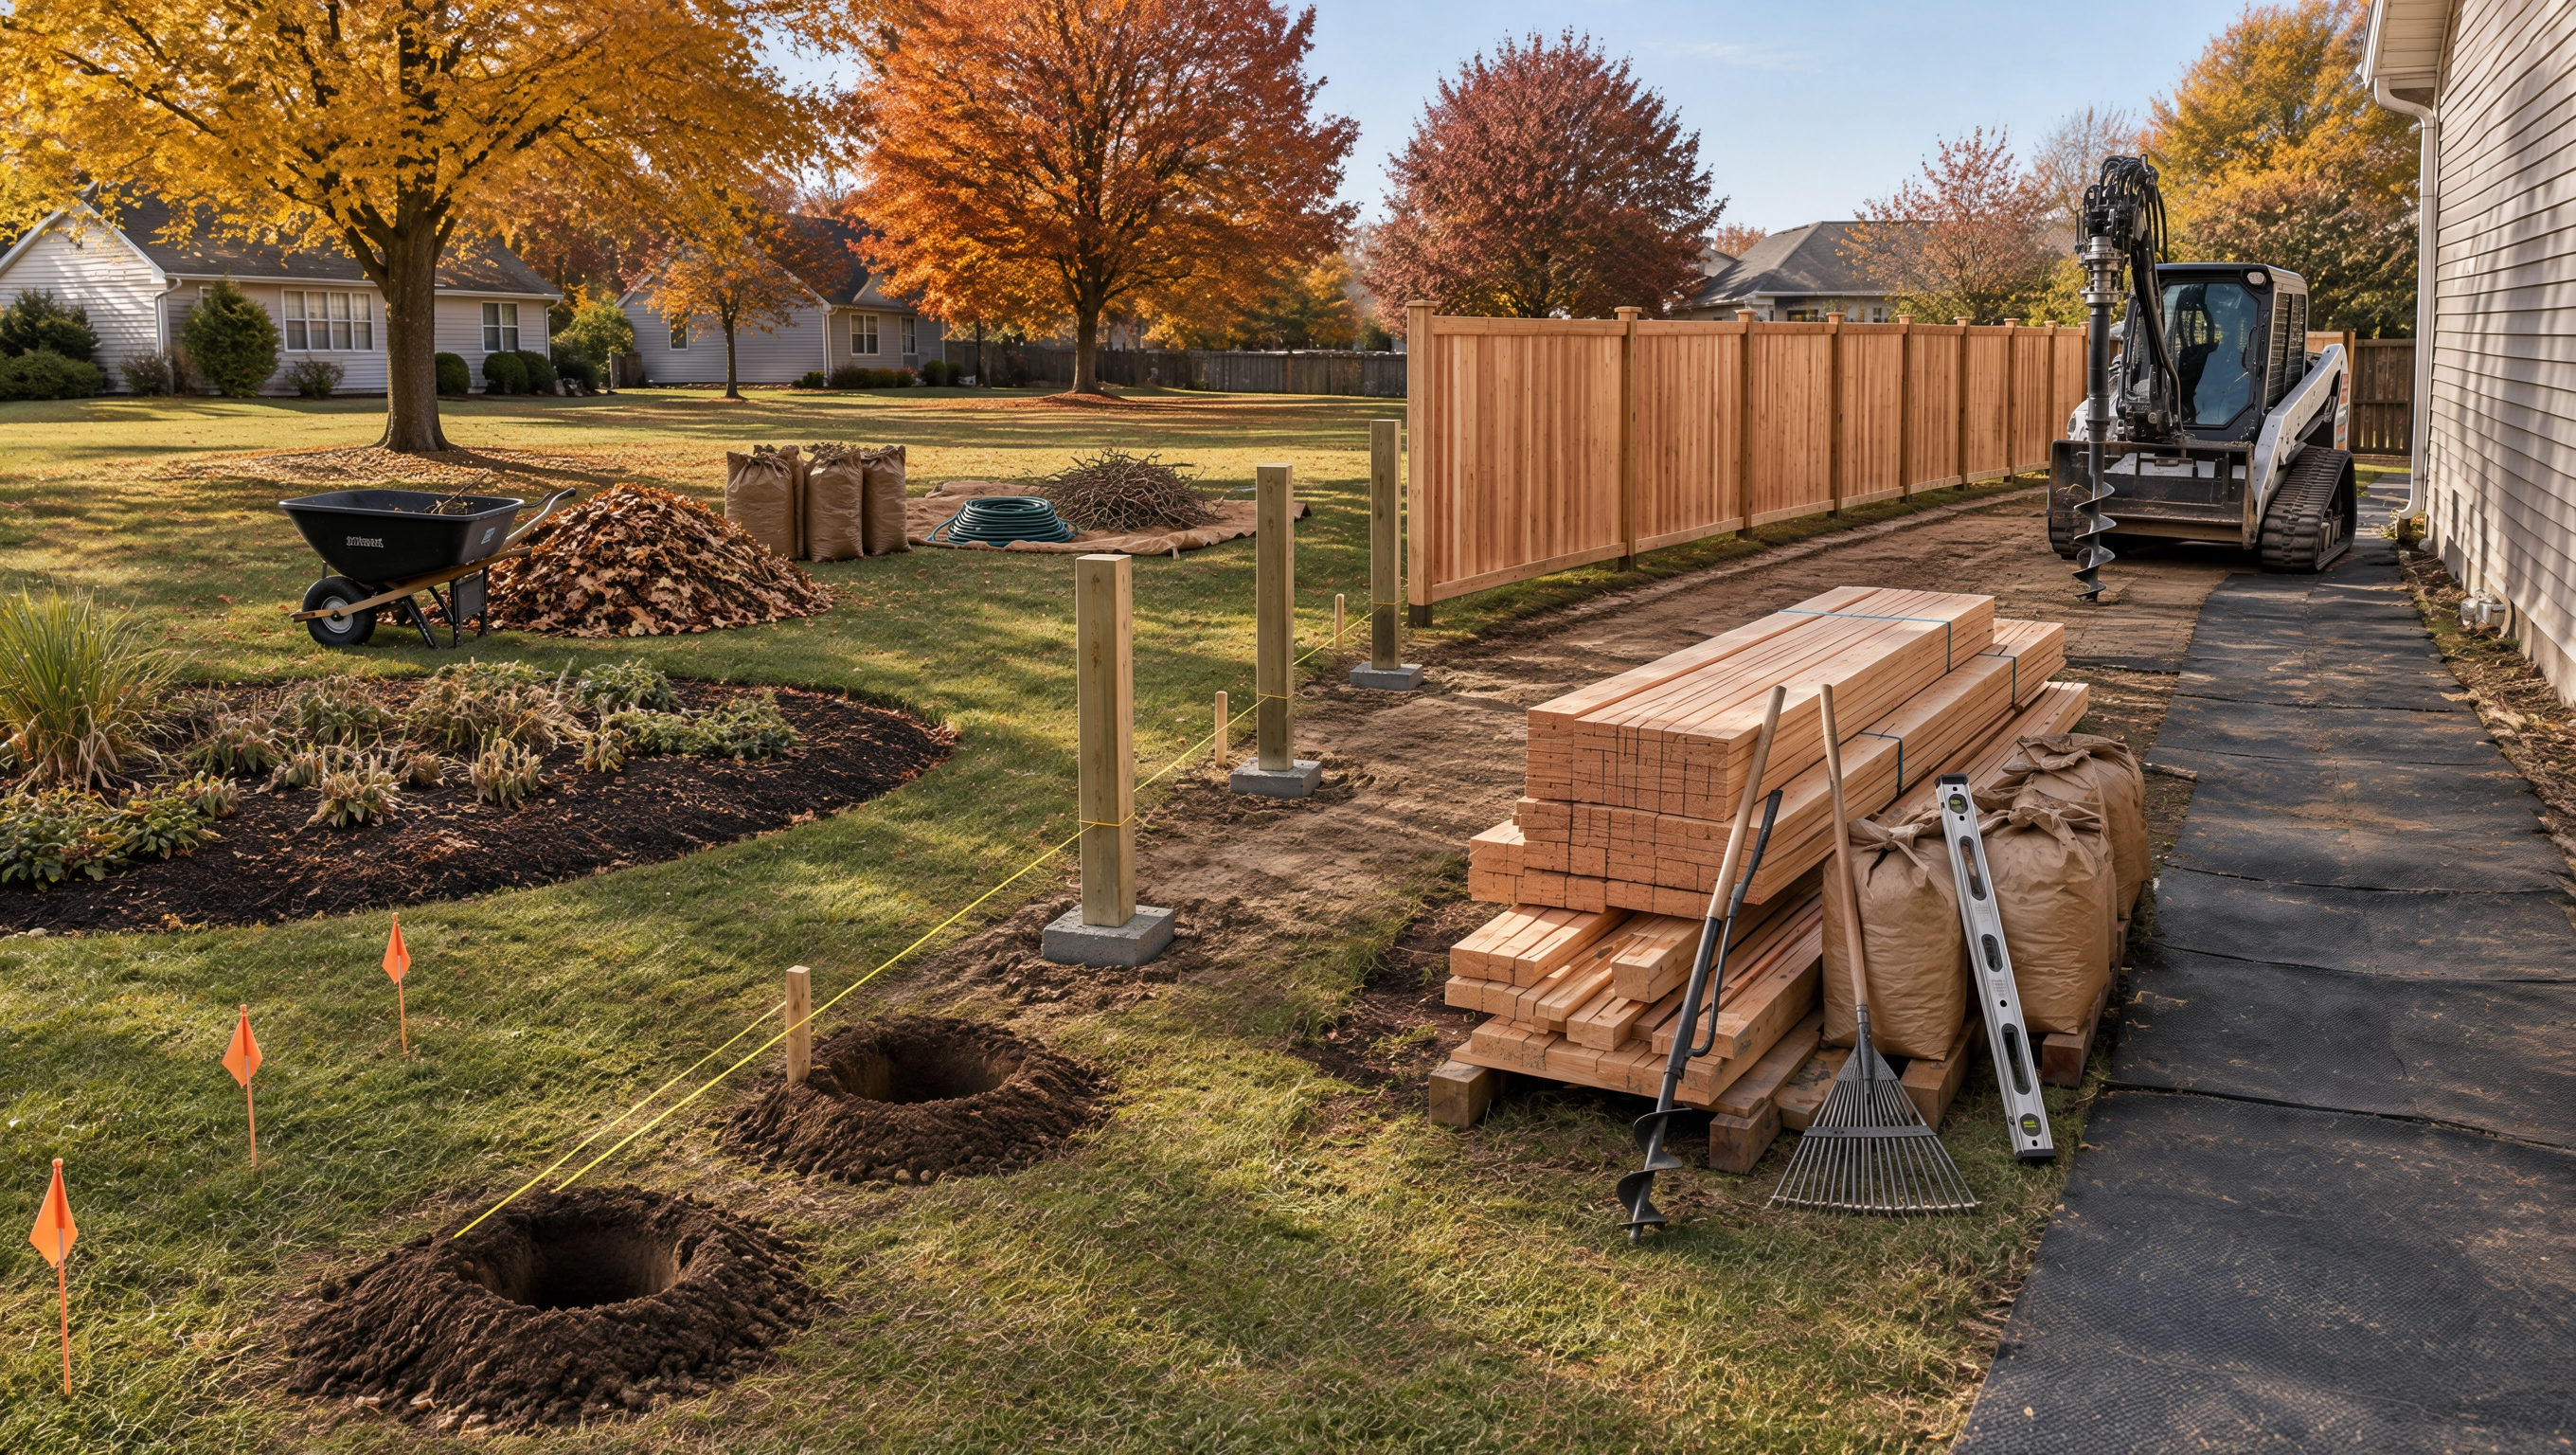
Fall privacy fence installation in Rockton goes more smoothly when homeowners prepare the fence line, confirm gate locations, clear access routes, review drainage, and plan around landscaping before work begins. Privacy fencing also needs careful attention to wind exposure, slopes, pet security, and winter access, especially when solid wood or vinyl panels are used.
Start With the Exact Fence Line
Before clearing the yard, confirm where the privacy fence is expected to run.
Walk the proposed layout and note:
Property boundaries
Existing fence sections
Patios and decks
Sheds
Trees and shrubs
Driveways
Side-yard pathways
If an older fence is being replaced, do not automatically assume the new fence should follow exactly the same route.
A replacement project may be an opportunity to improve privacy, access, or the amount of usable backyard space.
Applicable local requirements should be reviewed before final placement is approved.
Decide Which Areas Actually Need Privacy
A privacy fence does not always need to surround every side of the property.
Rockton homeowners may want the strongest screening near:
Patios
Outdoor seating
Neighbor-facing boundaries
Side yards
Pet areas
Identifying these areas early can help create a more practical layout.
Full privacy where it matters most, combined with more open fencing elsewhere, may keep the yard from feeling unnecessarily enclosed.
Check Sightlines Before Installation
Privacy should be evaluated from the places where you actually spend time.
Look at the yard from:
Patio chairs
Deck seating
Backyard doors
Outdoor dining areas
Play spaces
A fence may provide enough screening from ground level but feel different from an elevated deck.
Understanding sightlines before installation can help determine the right combination of location and height.
Choose the Privacy Material Before Yard Prep
Wood and vinyl are common choices when strong screening is the priority.
Wood Privacy Fencing
Wood offers a natural appearance and several design options, including:
Solid vertical
Board-on-board
Shadowbox
Horizontal styles
Solid and board-on-board designs provide stronger screening, while shadowbox allows more airflow.
Vinyl Privacy Fencing
Vinyl provides a clean, consistent appearance with less routine surface maintenance.
It can work well for:
Full privacy
Semi-private layouts
Side-yard screening
Pet areas
The chosen material affects how the fence line should be prepared and how wind exposure should be considered.
Clear the Fence Line
Fall leaves, stored items, and overgrown plants can make installation areas difficult to evaluate.
Before work begins, remove or relocate:
Patio furniture
Hoses
Toys
Planters
Firewood
Temporary decorations
Yard equipment
Clear enough space for crews to reach the fence line safely.
This also makes drainage, roots, and uneven ground easier to see.
Trim Vegetation That Blocks Access
Privacy fence installation often requires more working room than homeowners expect.
Trim shrubs, vines, and low branches that extend directly into the proposed fence line.
Pay particular attention to:
Dense bushes
Climbing vines
Overgrown side yards
Low tree limbs
Avoid major tree-root disturbance without discussing the layout first.
Sometimes shifting a post location slightly is more practical than cutting through a large root system.
Plan How Materials Will Reach the Backyard
Access is an important part of fall yard preparation.
Think about how posts, panels, tools, and removed fence materials will move between the street or driveway and the installation area.
Possible obstacles include:
Narrow side yards
Tight existing gates
Steps
Retaining walls
Sheds
Landscaping
Clearing an access path before installation can reduce unnecessary handling and delays.
Measure Narrow Side Yards
Privacy fencing can make already narrow side yards feel tighter.
Before installation, check whether there will still be enough room for:
Walking
Trash containers
Mowers
Utility access
Gate swing should also be considered.
A fence that provides excellent privacy but makes the side yard difficult to use may need a different layout.
Decide Gate Locations Early
Gates should be included in the original privacy plan.
Think about how people normally move between:
Driveway and backyard
House and side yard
Patio and front yard
A gate placed in the wrong location can create extra walking or interfere with landscaping.
It can also create an unwanted direct sightline into a private backyard area.
Measure for Equipment Gates
If larger equipment needs backyard access, measure it before posts are installed.
Consider the width of:
Riding mowers
Trailers
Garden carts
Landscaping equipment
A separate wide gate may make sense for occasional access.
Wide gates need stronger support than standard walk gates, so their location should be finalized before installation begins.
Check Gate Swing Before Winter
Fall installation should account for winter use.
Make sure gates will not swing into areas where snow is usually:
Shoveled
Piled
Blown
Frequently used gates should remain accessible through the colder months.
Planning this now can prevent a good summer layout from becoming inconvenient in winter.
Check Drainage After Rain
Fall is a useful time to see how water moves through the yard.
Walk the proposed fence line after rain and look for:
Standing water
Soft soil
Erosion
Downspout runoff
Low areas
Privacy fences depend on stable posts.
If water repeatedly washes soil away near a post location, future leaning or gate alignment problems may develop.
Do Not Block Natural Water Flow
A new fence should work with the existing yard rather than creating new drainage problems.
Pay attention to areas where runoff crosses the fence line.
Leaves and landscaping debris should not be allowed to create dams along the bottom of the fence.
Drainage planning is especially important where the yard slopes toward neighboring properties or low areas.
Evaluate Slopes Before Posts Are Set
Uneven terrain affects both privacy and ground clearance.
Depending on the fence system, sections may need to be:
Stepped
Installed to follow the grade more closely
Slopes can also create larger openings beneath the fence.
For households with dogs, these transitions deserve extra attention.
Plan Around Pets During Installation
If dogs use the backyard, assume the yard may be temporarily open while work is underway.
Prepare another secure arrangement, such as:
Indoor supervision
Leash breaks
Another enclosed area
Do not rely on a partially completed fence for pet containment.
Once the fence is finished, inspect gates and lower gaps before allowing pets to use the yard freely.
Think About Wind Exposure
Solid privacy fencing catches more wind than open materials.
Before installation, note whether the property has:
Open rear boundaries
Long exposed fence runs
Few windbreaks
Large corner sections
Post stability is especially important along these areas.
If complete privacy is not needed everywhere, semi-private sections or a mixed layout may reduce wind resistance while still providing useful screening.
Prepare for Existing Fence Removal
If an older fence must come down first, confirm who is handling:
Boards or panels
Posts
Gates
Hardware
Concrete footings
Hauling
Disposal
Removal can reveal hidden issues such as erosion, old footings, or poor drainage.
These conditions may need to be addressed before the new privacy fence is installed.
Keep Fall Leaves Under Control
Leaves can quickly cover:
Post locations
Low spots
Drainage paths
Ground markings
Clear them shortly before installation.
This makes the work area easier to inspect and helps keep crews from working over hidden debris or uneven ground.
Review the Project Before Work Starts
Before installation day, confirm the final details with the contractor.
Review:
Fence material
Style
Height
Layout
Gate locations
Gate widths
Removal work
Access route
Cleanup
Making changes after post locations are established can be much more difficult than making them beforehand.
Fall Privacy Fence Prep Checklist
Before installation in Rockton, make sure you have:
Confirmed the fence line
Identified privacy areas
Checked sightlines
Selected material and height
Cleared the fence line
Trimmed vegetation
Opened an access path
Finalized gates
Measured equipment access
Checked drainage
Reviewed slopes
Planned for pets
Considered winter gate use
A few preparation steps can make the installation process more organized and help the finished fence work better throughout the year.
Request a Free Privacy Fence Estimate
Arrow Fence helps Rockton homeowners plan privacy fence installation around yard access, gates, pets, drainage, landscaping, and Midwest weather.
Whether you are considering wood, vinyl, semi-private fencing, replacement, or a new installation, Arrow Fence can help you review practical options for your property.
Contact Arrow Fence at arrowfencerockford.com to request a free estimate for your privacy fence project.
